Before talking about FreeBSD itself, I’ll split this article in 2 parts. The first part installing in a VM, and the second part will be installing on my PC.
Now, let’s talk why I did want to learn it.
FreeBSD is an operational system that I never wanted to use it. But recently I’ve been wanting to test it, because I’m wanting learning something new.
When I was searching about systemd from Linux and “why it’s bad”, I had seen a recommendation of OSes (that don’t have it) saying more or less this:
If you don’t like systemd, just use FreeBSD.
Well, if systemd is really bloated, I really don’t know. To be honest, I don’t even remember if it sounded exactly like that. But from that I decided today to install it on a virtual machine.
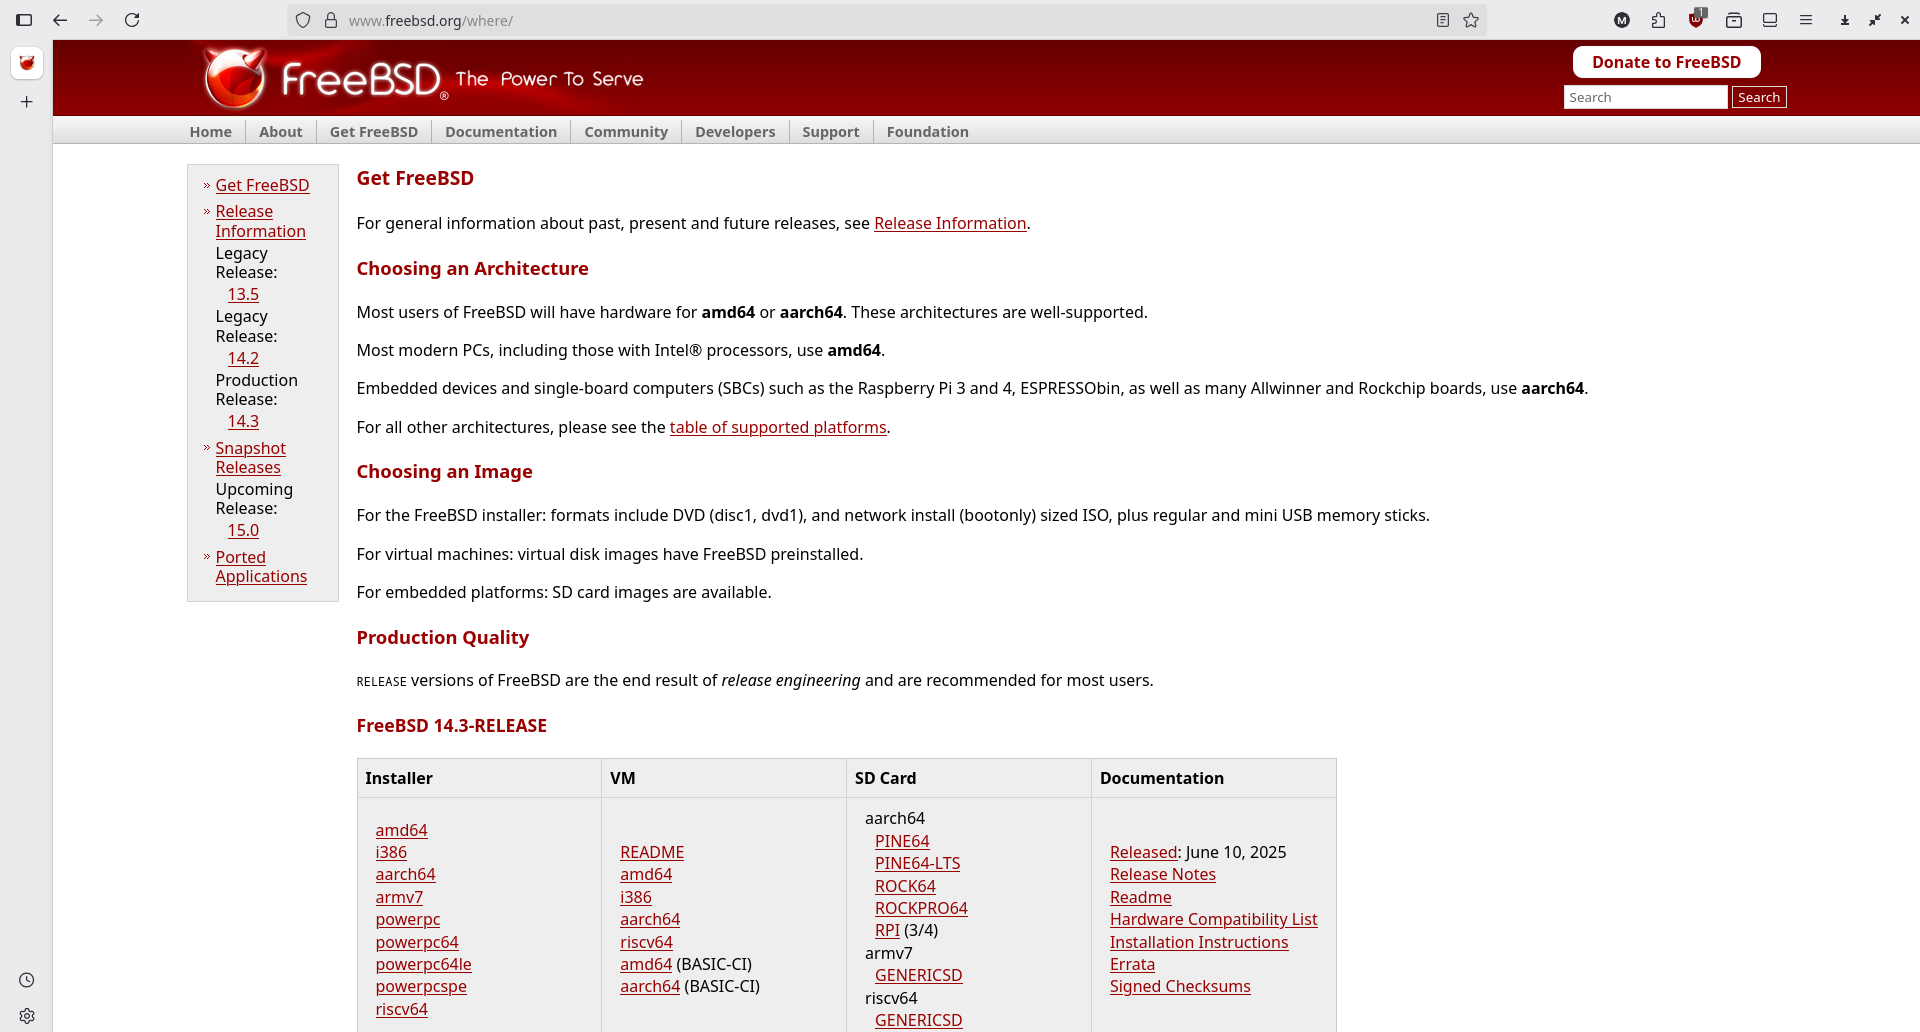
I downloaded it from an official mirror. The good thing is FreeBSD pretty compatible with any architecture! PowerPC, Arm, x86, Risc-V are precompiled here to download.
Downloading and installing the system
Before installing, you must remember that in this part will use a VM.
Downloading the system
Until now, I know that there are 5 file versions of FreeSSD.
bootonly.isodisc1.isodvd1.isomemstick.imgmini-memstick.img
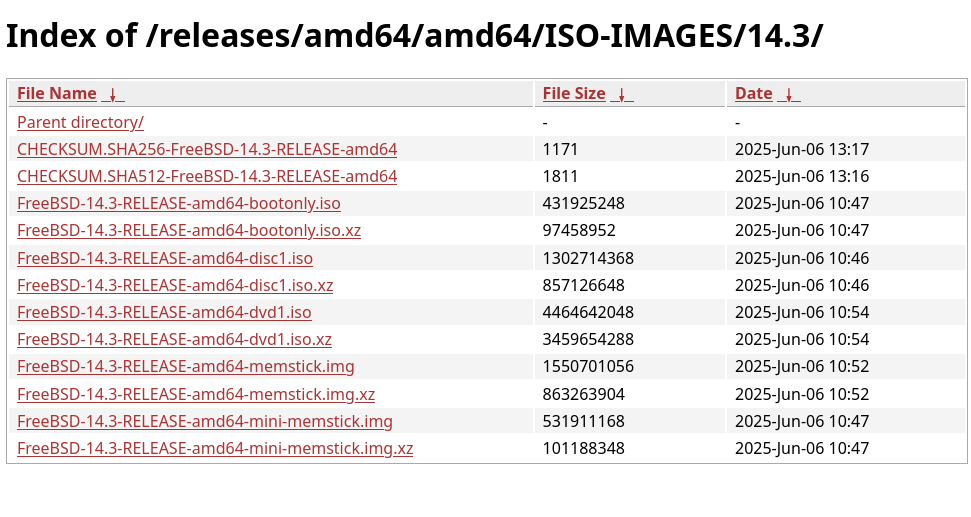
The first one I tried was memstick.img. I was just curious how I could install it, because it’s .img, not .iso. But I couldn’t even boot it using VM. So I tried disc1.iso because it has 1.2 gigabyes, and dvd1.iso is 4~ gigabytes.
An addendum: the download was too slooooow… So I decided to download it using a brazilian mirror.
Booting FreeBSD in a VM
So, booting the system, the first thing that shows up is this. The bootloader. It’s obvious, I guess.

There are options that I don’t know what they do! XD
But it’s quiet simple and loads very fast - until I press any arrow key down and it enters into a CLI. Meh, it’s just strange pressing ↓ and you go to a kind of terminal. Typing boot makes FreeBSD boot.
Well, I chose the first one to boot in.
Installing FreeBSD
And there it is! The FreeBSD Installer! I say I won’t explain each step, because this article is not a tutorial.
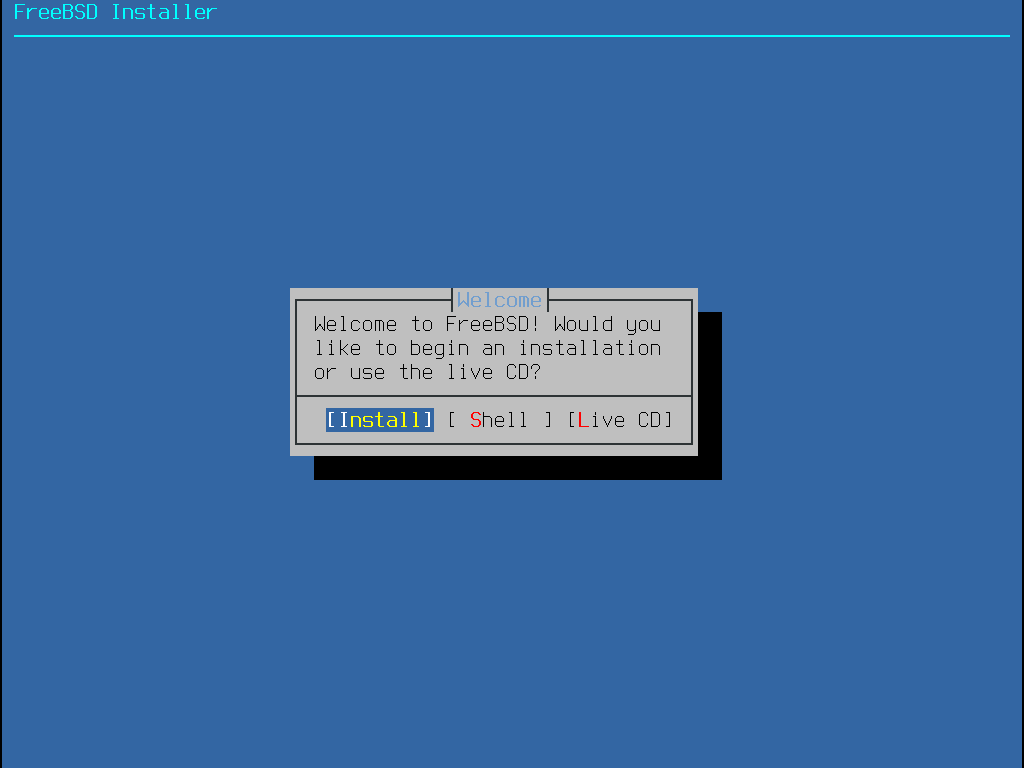
First thing I noticed is the installer looks very similar to Debian.
While partition it, the installer let me choose between ufs2 and zfs to use as my /. In the VM I chose zfs at the first moment, until I press ↓ and mess everything up. I don’t remember how exactly it got messed, but I remember the partition got canceled. But the next try was perfect! It installed perfectly!
Installing FreeBSD on my SSD
I’m gonna say, when I was installing FreeBSD on my SSD, I was afraid to delete where my Arch is installed. But don’t selecting where it is installed that it doesn’t get delete.
Using the system
After installing and booting into it, and log in to as root I used pkg install xfce xfce4-goodies lightdm lightdm-gtk-greeter to install my GUI. It seems that xfce is the most desktop environment used on FreeBSD.
Actually I’ve installed each packages, LOL!
Activating services
Well, after setting a new user and adding it into the wheel group… I tried to activate the lightdm.service. The problem is: how do I do this without systemd???
So, following the official docs… You need to do this:
- Mount a such of
procin/proc. What is this? I don’t fucking know. It comes already mounted on Linux. - Enable
dbusandlightdmin /etc/rc.conf usingsysrc {SERVICE}_enable="YES". Note that it’s without{ }!
So, there is another method that is using service, but I don’t know how to use it. I think it is service [app] [option] - service lightdm enable.
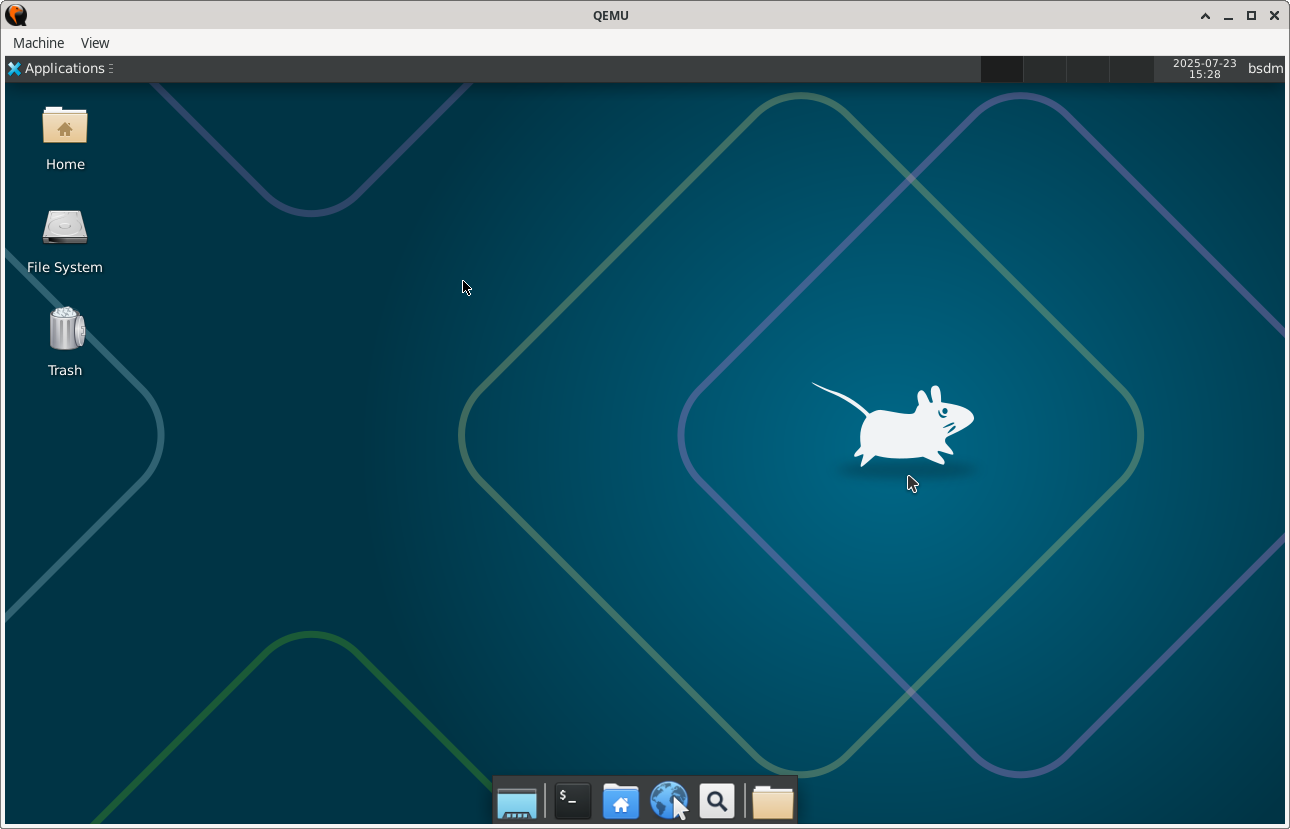
I did this, reboot, and black screen. Wtf is happening?
So, I noticed that the packages xfce xfce4-goodies lightdm lightdm-gtk-greeter don’t included the xorg package. So, it’s done. Now how my VM looks like:
To be continued on the next articles
Well, that’s all for now. Perhaps I’ve forgot to say something - if so, I’ll put on the next article. And thanks for reading this!